My wife saw a chandelier like this on the internet and liked it a lot. I took the idea of using the jars as light fixtures and put our own twist on it. We like the rustic look so we went searching for some old wood being thrown out. I will show you how ours is built.
You will need the following:

Chop or circular saw, wood glue, measuring tape, crowbar or hammer

Power drill (curious young child not recommended) and nail gun with finishing and 2" nails

[8 ct.] of following:
1" Hollow Thread Rod w/ matching bolts, Mason Jars (I used small-mouth), 2" Keyless Sockets, light bulbs (I used 25-watt, clear), lamp wire (any color).

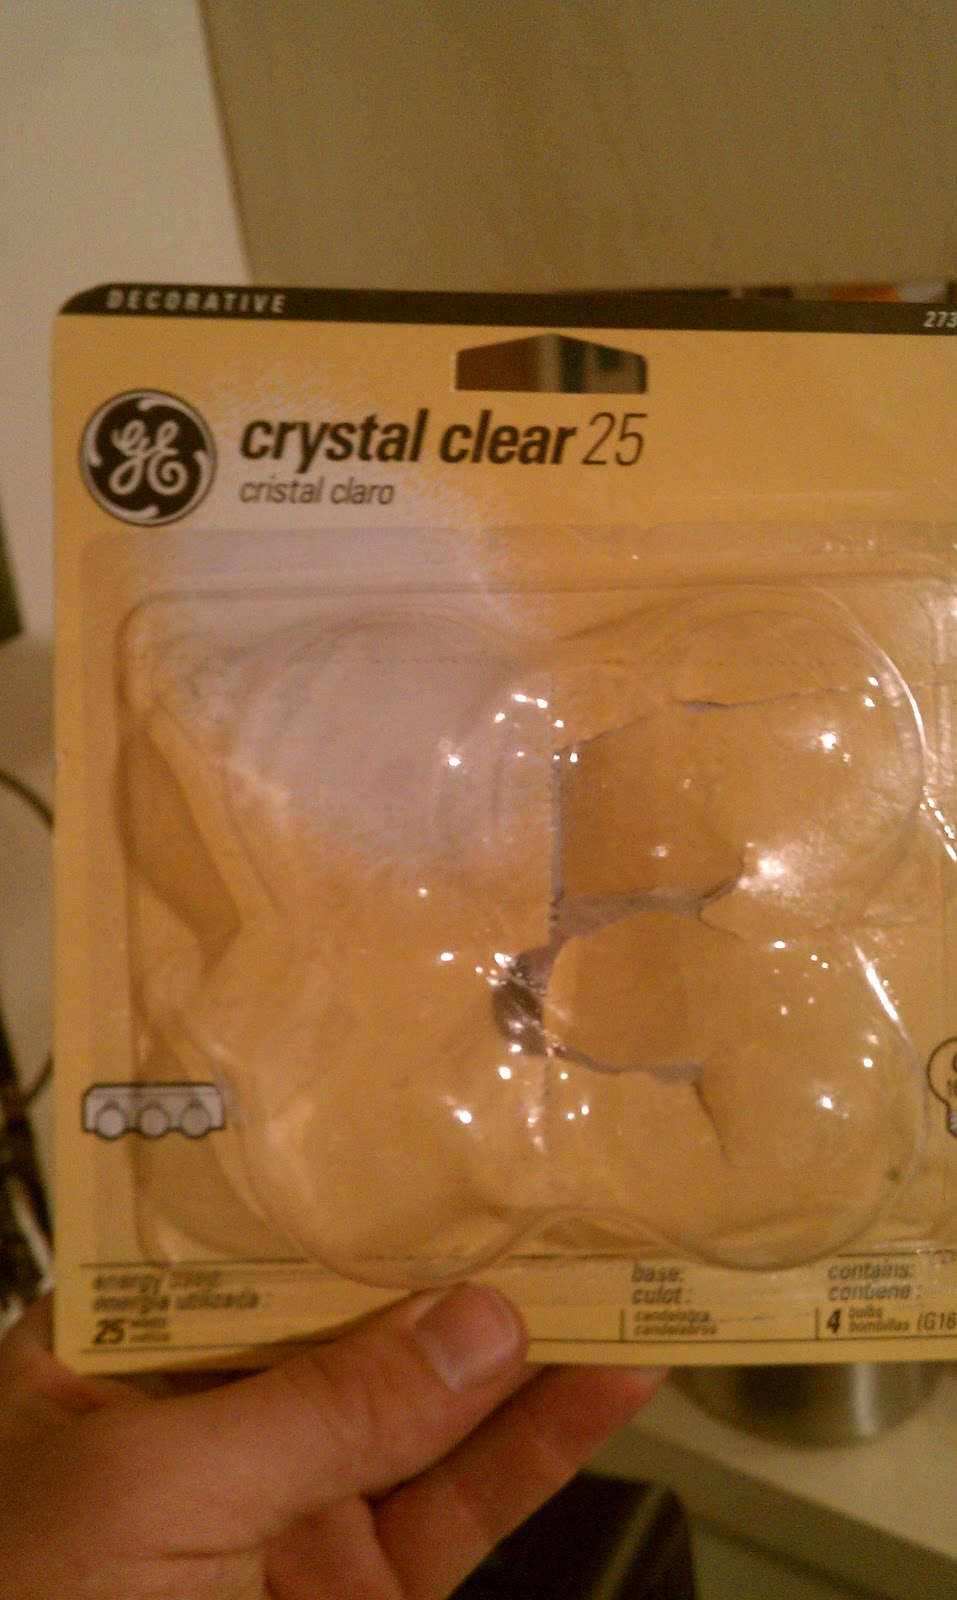
8 clear 25 watt candelabra bulbs

Old wood slats (old fence boards work great)
You will do the following:
(Remeber: the size of the hardware fixture is up to you)

Cut 3 slats to 36"
(These will be the bottom facing pieces when hanging and are on top in pictures below)
 1
1 2
2 3
3
Cut 2 slats (vertical ones in pics #1 & 3) equal to width of the 3 slats alongside eachother (#2 above
(if each slat is 4 1/2" wide, then the short slats on sides will be 13 1/2" long)
 4
4
Vertical pieces in #4 cut to fit (slightly less than the 36" ones above)


Glue pieces together and secure with finishing nails then cut inner cross pieces shown above and glue and secure using 2" nails


Here is what it looks like without wiring

Next, drill [about 1/4"] holes every 7" or so about 1 1/2" in from edge of center slat

Cut wires to desired length (each different from the next). Keep in mind, you want the bottom of the jars to be somewhere between 28-32" from table surface [if hanging in dining room]. For me, that's about 3' from the ceiling (not from the base of the unit). Leave 12-15" of wire inside the main unit.

Strip about 3/4" off of each wire end and twist wires to ease the next step.

Slide off the cardboard sleeve, feed wire through socket hole. Attach one wire (Right) to a screw (doesn't matter which to which-- both wires are the same type/size) and other wire (Left) to other screw, wrapping them clockwise around screw and tighten screw. Always keep in mind that Right and Left (R and L) never touch. Replace cardboard sleeve.
Drill [about 1/4"] hole through center of jar lid and several other holes around it. Use a piece of wood held tightly under lid when drilling to keep edges of hole clean (see below). Feed wire through lid in order above (socket, lid, bolt).

Fit all pieces together firmly. Other than the jar and the bulb, you have your fixture. Repeat with remaining wires.


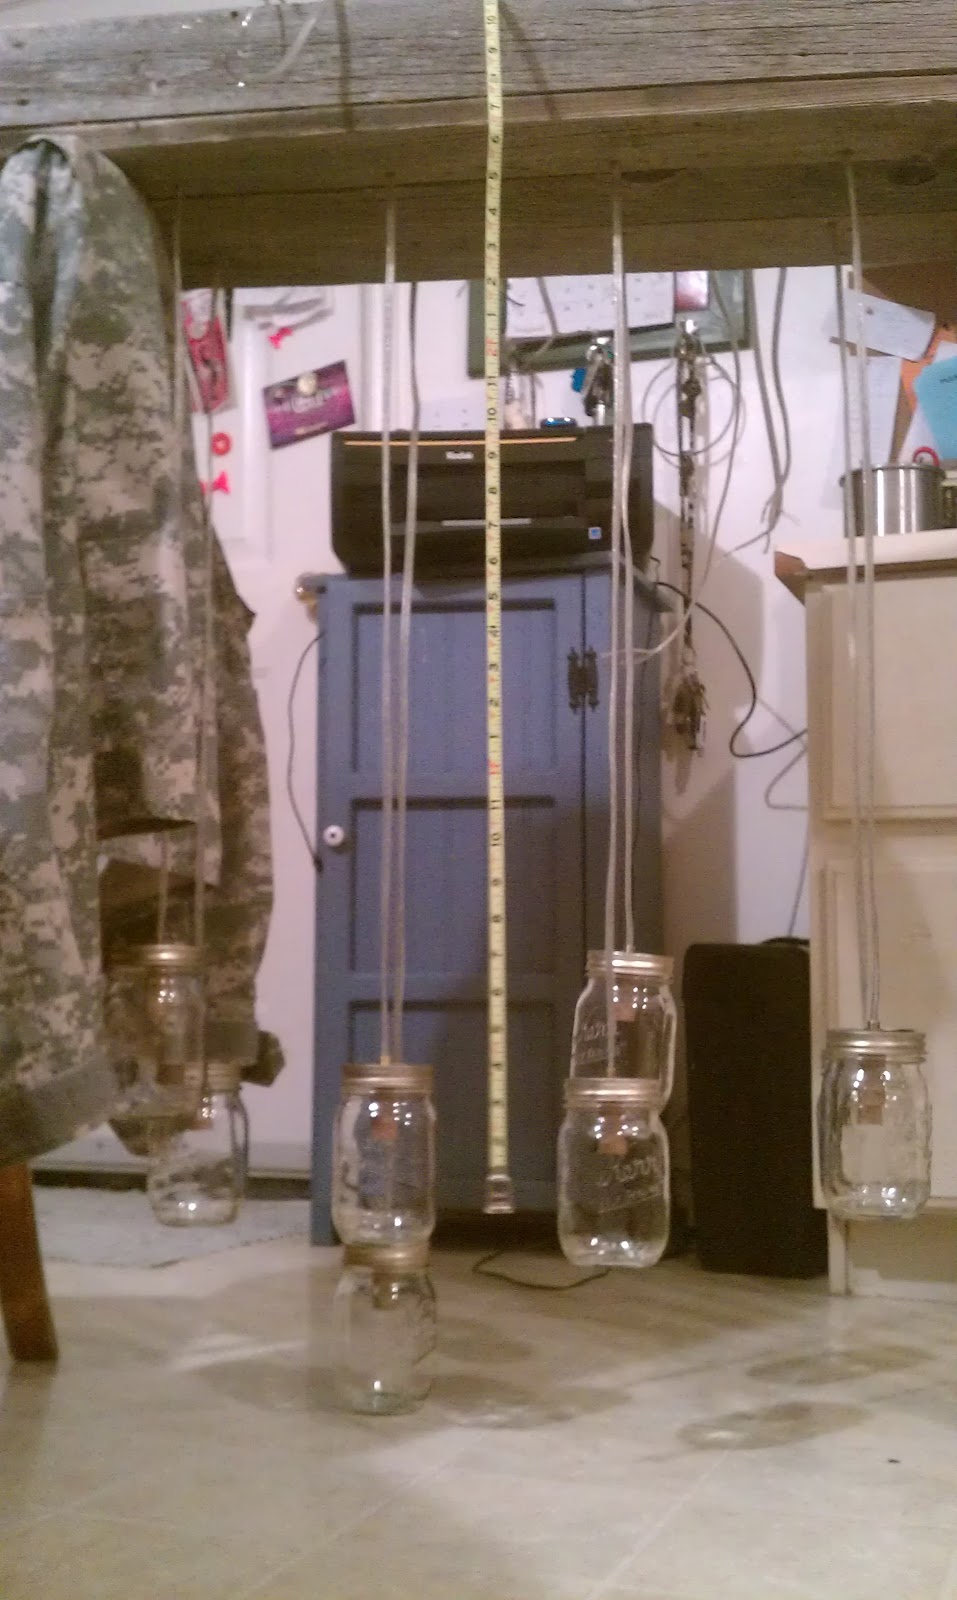
Once you have fed all wires through the main unit, suspend it above
the floor on chairs. This makes it easy to work with the wiring. Notice the measuring tape hanging? This gives me an exact reference of how far down the lights will be hanging. 3' from the ceiling is the average distance to the bottom of the jars.
 5
5 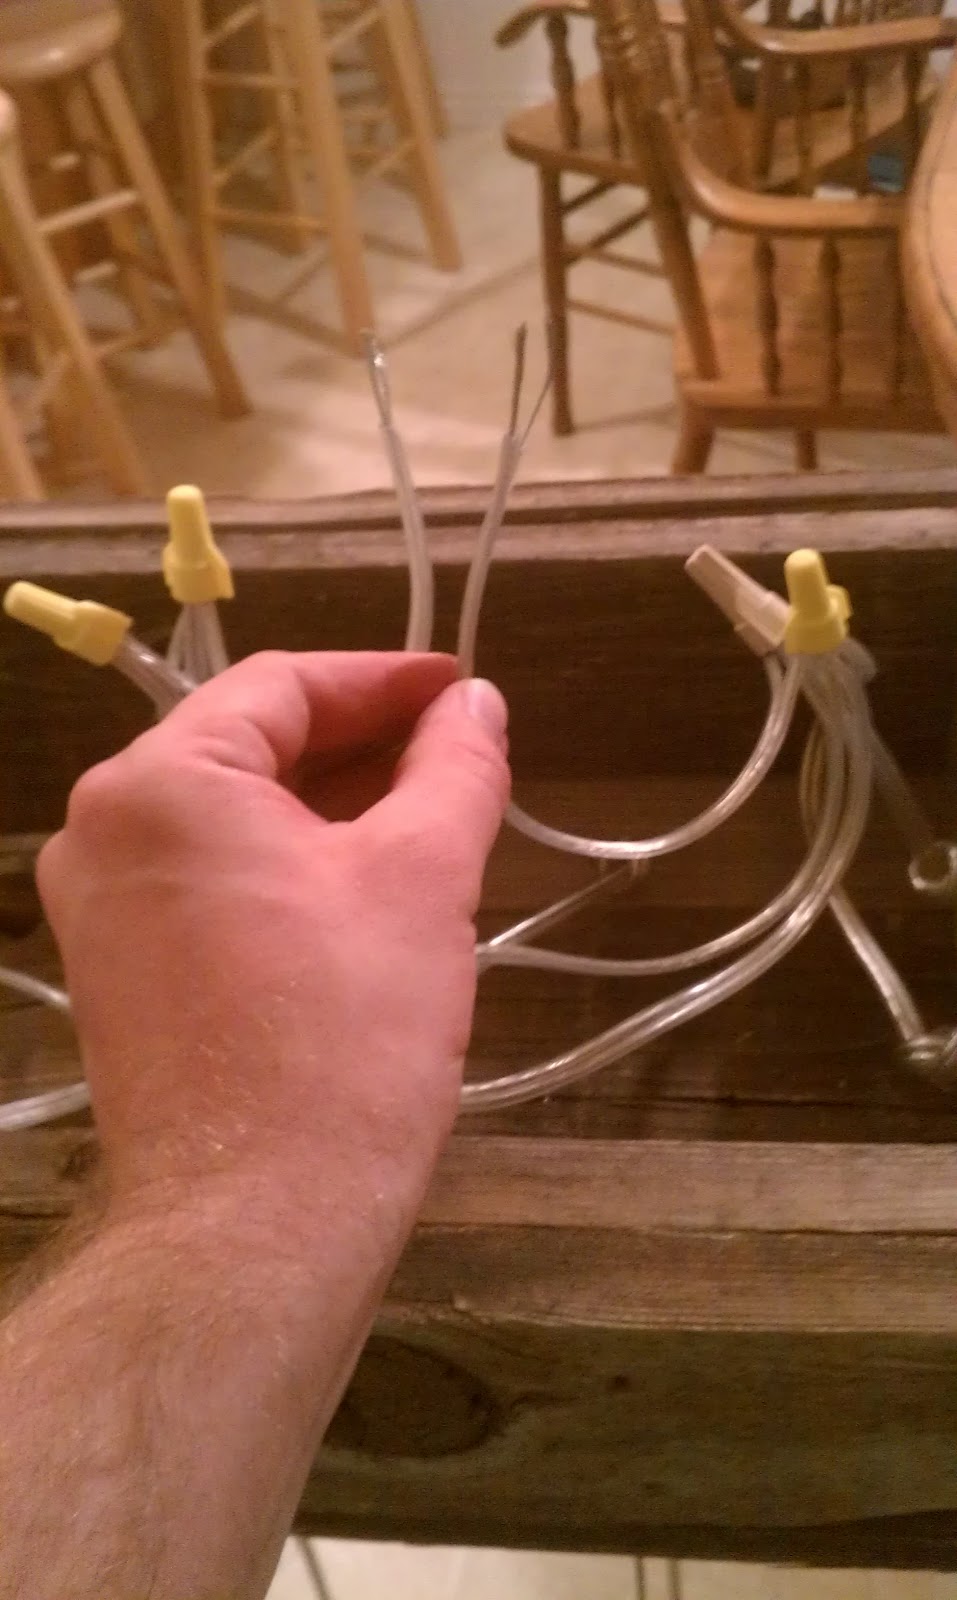 6
6
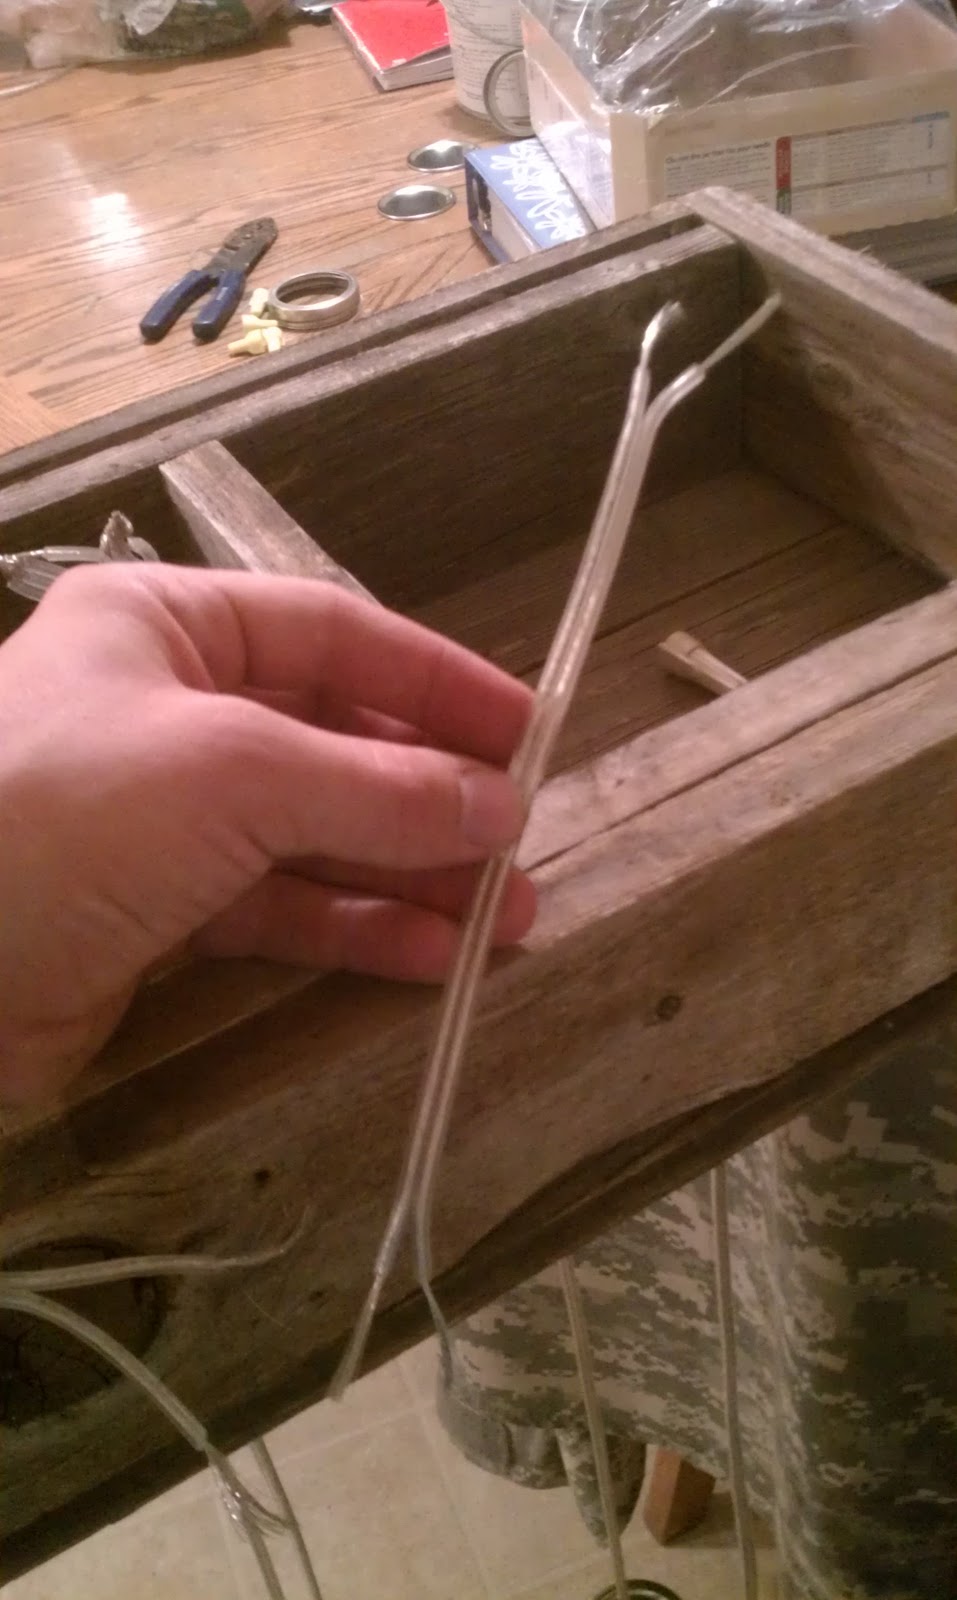
Make 2 pigtails (#5 above). Don't let all the wires confuse you. The basic concept is to give each wire a full circuit from the live wire in the ceiling, down to the fixture, and back up to the ceiling. Making sure that each wire is split (R from L) and stripped, combine the Rs of 4 wires and R of a pigtail with the wire nuts, twisted on tight (Remember: R is EITHER one and L the other). Then combine the Ls of the same 4 wires and the L of same pigtail the same way. Repeat with the other 4 wires and other pigtail, leaving the other end of both pigtails exposed (see #6 above). Leave the exposed pigtail ends alone until you attach to the ceiling fixture. To do so you will twist together using wire nuts the 2 pigtail Rs with one wire from ceiling fixture (3 wires), and then the pigtail Ls with the remaining ceiling wire. You now have a connection.

Using a basic extension cord, twist together the Ls and Rs of each pigtail. Then, simply stick the wires into the holes of extension cord. Once the cords are in and not touching each other, plug it in. You can see below that it works.

